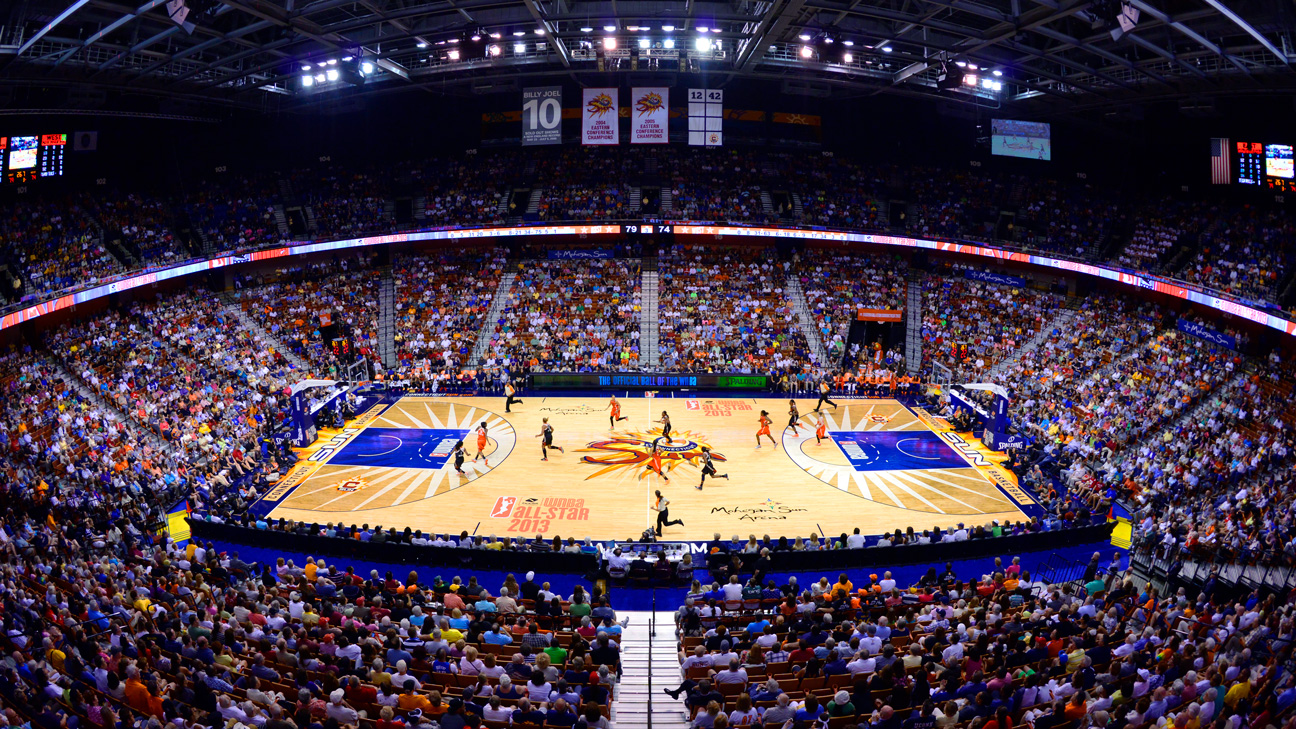
Minnesota Lynx @ Connecticut Sun
Game Leaders
Team Stats
35% (21-60)
Field Goal %
47% (33-70)
20% (5-25)
Three Point %
53% (16-30)
81% (13-16)
Free Throw %
67% (8-12)
19
Turnovers
13
32
Rebounds
36
2
Largest Lead
33
Game Information
Uncasville, CT
Referee:Roy Gulbeyan
Referee:Fatou Cissoko-Stephens
Referee:Maj Forsberg

Shot Chart

- Tiffany Hayes makes 24-foot jump bank shot (Alyssa Thomas assists)
- Napheesa Collier misses two point shot
- Alyssa Thomas misses driving layup
- Diamond Miller misses 24-foot three point shot
- DeWanna Bonner makes 26-foot three point jumper (Natisha Hiedeman assists)
- DeWanna Bonner misses 26-foot three point jumper
- Dorka Juhasz makes layup (Diamond Miller assists)
- Rebecca Allen misses 21-foot jumper
- Tiffany Mitchell misses 25-foot three point jumper
- Tiffany Hayes makes 23-foot three point shot (Alyssa Thomas assists)
- Dorka Juhasz misses free throw 1 of 2
- Dorka Juhasz misses free throw 2 of 2
- Rebecca Allen misses two point shot
- DeWanna Bonner misses 24-foot three point jumper
- Alyssa Thomas misses free throw 1 of 2
- Alyssa Thomas misses free throw 2 of 2
- Napheesa Collier makes driving layup
- Napheesa Collier makes free throw 1 of 1
- DeWanna Bonner misses 23-foot three point jumper
- Napheesa Collier misses 10-foot two point shot
- Rebecca Allen misses 25-foot three point jumper
- DeWanna Bonner makes layup (Alyssa Thomas assists)
- Kayla McBride misses 24-foot three point jumper
- DeWanna Bonner misses 21-foot two point shot
- Tiffany Hayes misses 29-foot three point jumper
- Natisha Hiedeman makes three point jumper (Rebecca Allen assists)
- Napheesa Collier makes free throw 1 of 2
- Napheesa Collier makes free throw 2 of 2
- Kayla McBride makes 7-foot two point shot (Nikolina Milic assists)
- Alyssa Thomas makes 5-foot layup (Natisha Hiedeman assists)
- Tiffany Mitchell misses pullup jump shot
- DiJonai Carrington misses driving layup
- Rachel Banham misses 24-foot three point shot
- DeWanna Bonner misses 31-foot three point jumper
- Kayla McBride makes 15-foot pullup jump shot
- DiJonai Carrington misses 27-foot three point jumper
- Kayla McBride makes 25-foot three point shot (Napheesa Collier assists)
- Alyssa Thomas makes 7-foot two point shot (DiJonai Carrington assists)
- Tyasha Harris misses 18-foot pullup jump shot
- Kayla McBride makes 15-foot driving floating jump shot
- Alyssa Thomas misses three point pullup jump shot
- Aerial Powers makes free throw 1 of 2
- Aerial Powers makes free throw 2 of 2
- Alyssa Thomas misses 11-foot jumper
- Tyasha Harris makes 11-foot driving floating jump shot
- Kayla McBride makes free throw 1 of 2
- Kayla McBride makes free throw 2 of 2
- Nikolina Milic makes free throw 1 of 2
- Nikolina Milic makes free throw 2 of 2
- Olivia Nelson-Ododa makes 4-foot layup (Alyssa Thomas assists)
- Bridget Carleton makes 13-foot two point shot
- Tiffany Hayes misses driving layup
- Alyssa Thomas misses two point shot
- Aerial Powers misses two point shot
- Tyasha Harris makes 22-foot three point shot (Tiffany Hayes assists)
- Aerial Powers misses 24-foot three point jumper
- Kayla McBride misses 26-foot three point jumper
- Tyasha Harris makes 26-foot three point jumper (DeWanna Bonner assists)
- DeWanna Bonner makes 24-foot three point jumper (Tyasha Harris assists)
- Rachel Banham makes 21-foot jumper (Bridget Carleton assists)
- Tiffany Hayes makes 24-foot three point jumper (Alyssa Thomas assists)
- Napheesa Collier misses 7-foot two point shot
- Bridget Carleton misses 24-foot three point jumper
- Diamond Miller misses 23-foot three point jumper
- Dorka Juhasz makes free throw 1 of 2
- Dorka Juhasz misses free throw 2 of 2
- Rebecca Allen misses 14-foot pullup jump shot
- Diamond Miller misses running pullup jump shot
- Alyssa Thomas misses driving layup
- DiJonai Carrington makes 6-foot two point shot (DeWanna Bonner assists)
- DiJonai Carrington makes free throw 1 of 1
- DiJonai Carrington makes two point shot (Alyssa Thomas assists)
- DiJonai Carrington makes 5-foot running pullup jump shot
- Napheesa Collier misses layup
- Tiffany Mitchell misses driving layup
- Alyssa Thomas makes 16-foot jumper (DeWanna Bonner assists)
- Kayla McBride makes 25-foot three point jumper (Dorka Juhasz assists)
- DeWanna Bonner misses 27-foot step back jumpshot
- Bridget Carleton makes driving layup (Tiffany Mitchell assists)
- Rebecca Allen makes 26-foot three pointer (DeWanna Bonner assists)
- Dorka Juhasz misses 24-foot three point jumper
- Napheesa Collier misses 15-foot pullup jump shot
- DeWanna Bonner misses free throw 1 of 2
- DeWanna Bonner makes free throw 2 of 2
- Alyssa Thomas makes 18-foot jumper (Rebecca Allen assists)
- Kayla McBride misses three point jumper
- Diamond Miller misses driving floating jump shot
- Dorka Juhasz makes two point shot
- Alyssa Thomas makes 3-foot layup (Tiffany Hayes assists)
- Diamond Miller makes 17-foot step back jumpshot (Kayla McBride assists)
- DeWanna Bonner misses 24-foot three point jumper
- Tiffany Hayes makes 23-foot three point jumper (Alyssa Thomas assists)
- Diamond Miller misses two point shot
- Alyssa Thomas makes two point shot (DeWanna Bonner assists)
- Napheesa Collier makes driving layup
- DeWanna Bonner misses 24-foot three point jumper
- Rebecca Allen makes 24-foot three point jumper (Alyssa Thomas assists)
- Kayla McBride misses 26-foot three point pullup jump shot
- Napheesa Collier makes 17-foot two point shot
- Natisha Hiedeman misses 10-foot pullup jump shot
- Natisha Hiedeman misses 23-foot three point shot
- Natisha Hiedeman misses 25-foot three point pullup jump shot
- Rachel Banham makes 25-foot three point jumper (Dorka Juhasz assists)
- DeWanna Bonner makes 3-foot layup (Alyssa Thomas assists)
- Napheesa Collier makes 3-foot layup (Kayla McBride assists)
- Tyasha Harris makes 23-foot three point jumper (DeWanna Bonner assists)
- Alyssa Thomas makes free throw 1 of 2
- Alyssa Thomas misses free throw 2 of 2
- Kayla McBride makes 16-foot jumper (Rachel Banham assists)
- DeWanna Bonner misses layup
- Napheesa Collier makes 4-foot layup (Nikolina Milic assists)
- Alyssa Thomas misses 14-foot pullup jump shot
- Napheesa Collier makes free throw 1 of 1
- Rachel Banham misses 26-foot three point jumper
- DeWanna Bonner makes free throw 1 of 2
- DeWanna Bonner makes free throw 2 of 2
- Aerial Powers makes free throw 1 of 2
- Aerial Powers makes free throw 2 of 2
- Tiffany Hayes misses 23-foot three point jumper
- Tiffany Hayes makes free throw 1 of 2
- Tiffany Hayes makes free throw 2 of 2
- Aerial Powers misses 24-foot three point pullup jump shot
- Rachel Banham misses 25-foot three point pullup jump shot
- Alyssa Thomas misses layup
- Olivia Nelson-Ododa misses two point shot
- DeWanna Bonner makes 15-foot pullup jump shot
- Napheesa Collier misses 13-foot two point shot
- Alyssa Thomas makes driving layup
- DiJonai Carrington misses two point shot
- Rachel Banham makes 27-foot three point jumper (Kayla McBride assists)
- Bridget Carleton makes 9-foot pullup jump shot (Rachel Banham assists)
- DeWanna Bonner makes 18-foot jumper (Rebecca Allen assists)
- Kayla McBride misses 24-foot three point pullup jump shot
- Aerial Powers misses driving layup
- DeWanna Bonner misses pullup jump shot
- Aerial Powers misses driving layup
- Rebecca Allen makes 23-foot three point shot (Alyssa Thomas assists)
- Napheesa Collier misses 12-foot two point shot
- Tyasha Harris misses driving layup
- Tyasha Harris misses 13-foot two point shot
- Rebecca Allen makes 24-foot three pointer (DiJonai Carrington assists)
- Aerial Powers misses 17-foot step back jumpshot
- DiJonai Carrington makes driving layup
- Bridget Carleton misses 25-foot three point jumper
- Kayla McBride misses 24-foot three point shot
- Tyasha Harris makes technical free throw
- Diamond Miller misses 10-foot two point shot
- Bridget Carleton misses 23-foot three point jumper
- Rebecca Allen misses driving floating jump shot
- Kayla McBride misses running pullup jump shot
- Rebecca Allen makes three point jumper (Tyasha Harris assists)
- Rachel Banham misses 31-foot three point pullup jump shot
- Natisha Hiedeman makes 25-foot three point jumper (Leigha Brown assists)
- Diamond Miller makes 25-foot step back jumpshot
Shot Made
Shot Missed
Shot Made
Shot Missed
Data is currently unavailable.
Matchups
2025-26 Standings
Women's National Basketball Assoc.
| Western Conference | W | L | PCT | GB | STRK |
|---|---|---|---|---|---|
| Dallas | 0 | 0 | .000 | - | - |
| Los Angeles | 0 | 0 | .000 | - | - |
| Minnesota | 0 | 0 | .000 | - | - |
| Phoenix | 0 | 0 | .000 | - | - |
| Seattle | 0 | 0 | .000 | - | - |
| Las Vegas | 0 | 0 | .000 | - | - |
| Golden State | 0 | 0 | .000 | - | - |
| Portland | 0 | 0 | .000 | - | - |
WNBA News

Sparks acquire Ariel Atkins from Sky for Rickea Jackson
The Sky traded two-time All-Star and Olympic gold medalist Ariel Atkins to the Sparks on Sunday for 2024 No. 4 overall pick Rickea Jackson.
4h

WNBA free agency and trade tracker 2026: Deals, news, moves
WNBA free agency is here. Kelsey Plum is returning to Los Angeles. Sophie Cunninghamn is returning to Indiana.
4h

Valkyries sign All-Star Gabby Williams to multiyear deal
Gabby Williams, who was named to her first All-Star Game last season, has signed a multiyear deal with the Valkyries.
5h
GAMBLING PROBLEM? CALL 1-800-GAMBLER, (800) 327-5050 or visit gamblinghelplinema.org (MA). Call 877-8-HOPENY/text HOPENY (467369) (NY). Please Gamble Responsibly. 888-789-7777/visit ccpg.org (CT), or visit www.mdgamblinghelp.org (MD). 21+ and present in most states. (18+ DC/KY/NH/WY). Void in ONT/OR/NH. Eligibility restrictions apply. On behalf of Boot Hill Casino & Resort (KS). Terms: sportsbook.draftkings.com/promos.
Copyright: © 2026 ESPN Enterprises, LLC. All rights reserved.


