


Game Information
Marvel Stadium
| fourth Quarter | |||
|---|---|---|---|
| Time | Team | Play | Score |
| 21:49 |  | Z. Williams Behind | 66 - 103 |
| 20:42 | | H. O'Farrell Behind | 65 - 103 |
| 18:49 |  | Z. Bailey Behind | 64 - 103 |
| 13:49 | | Rushed | 64 - 102 |
| 12:49 | | L. Morris Behind | 64 - 101 |
| 10:22 | | E. Hipwood Behind | 64 - 100 |
| 8:15 | | M. McGovern Goal | 64 - 99 |
| 6:27 | | G. Hewett Goal | 58 - 99 |
| 3:05 | | T. De Koning Goal | 52 - 99 |
| 0:51 | | C. Cameron Behind | 46 - 99 |
| third Quarter | |||
| Time | Team | Play | Score |
| 25:38 | | C. Rayner Goal | 46 - 98 |
| 23:31 | | L. Fogarty Behind | 46 - 92 |
| 20:22 | | A. Moir Behind | 45 - 92 |
| 19:18 | | W. Ashcroft Behind | 44 - 92 |
| 16:10 | | D. Fort Goal | 44 - 91 |
| 15:07 | | A. Moir Behind | 44 - 85 |
| 13:55 | | Z. Bailey Goal | 43 - 85 |
| 10:25 | | K. Lohmann Goal | 43 - 79 |
| 9:10 | | H. McCluggage Behind | 43 - 73 |
| 9:10 | | H. McCluggage Behind | 43 - 73 |
| 1:56 | | Rushed | 43 - 72 |
| second Quarter | |||
| Time | Team | Play | Score |
| 31:38 | | C. Cameron Goal | 42 - 72 |
| 29:59 | | L. Ashcroft Goal | 42 - 66 |
| 29:06 | | J. Motlop Behind | 42 - 60 |
| 28:01 | | C. Cameron Behind | 41 - 60 |
| 26:45 | | P. Cripps Behind | 41 - 59 |
| 24:43 | | C. Cameron Behind | 40 - 59 |
| 22:59 | | L. Morris Goal | 40 - 58 |
| 21:14 | | C. Durdin Goal | 40 - 52 |
| 19:54 | | P. Cripps Goal | 34 - 52 |
| 17:16 | | H. McCluggage Goal | 28 - 52 |
| 14:57 | | C. Curnow Behind | 28 - 46 |
| 13:19 | | M. Pittonet Goal | 27 - 46 |
| 10:15 | | W. Ashcroft Goal | 21 - 46 |
| 1:04 | | C. Cameron Goal | 21 - 40 |
| first Quarter | |||
| Time | Team | Play | Score |
| 32:42 | | M. Pittonet Goal | 21 - 34 |
| 29:23 | | L. Morris Goal | 15 - 34 |
| 27:57 | | A. Moir Behind | 15 - 28 |
| 26:21 | | P. Cripps Behind | 14 - 28 |
| 26:03 | | C. Curnow Behind | 13 - 28 |
| 24:18 | | C. Rayner Goal | 12 - 28 |
| 22:50 | | Z. Williams Goal | 12 - 22 |
| 19:53 | | Z. Bailey Behind | 6 - 22 |
| 14:02 | | E. Hipwood Behind | 6 - 21 |
| 10:36 | | O. Fantasia Goal | 6 - 20 |
| 9:12 | | E. Hipwood Goal | 0 - 20 |
| 7:22 | | C. Cameron Goal | 0 - 14 |
| 5:37 | | J. Berry Goal | 0 - 8 |
| 2:00 | | Z. Bailey Behind | 0 - 2 |
| 1:38 | | Z. Bailey Behind | 0 - 1 |
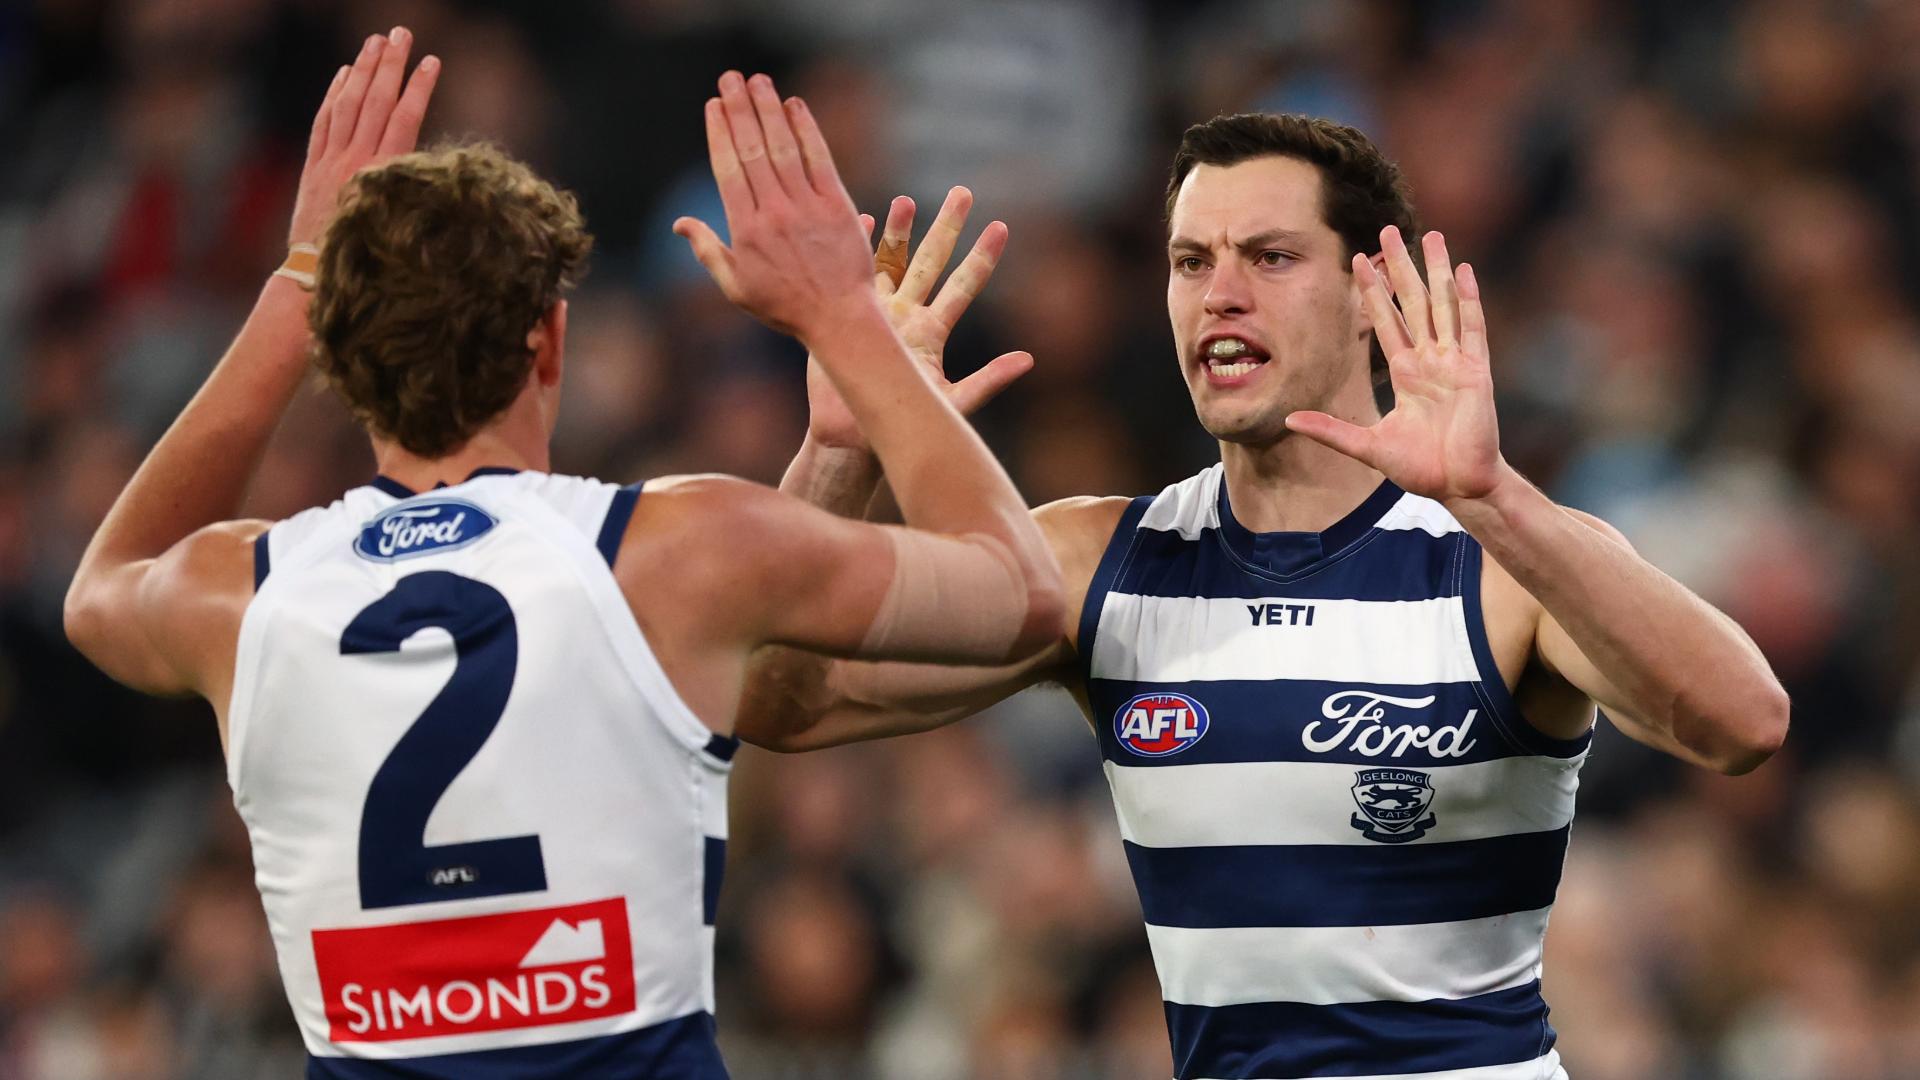
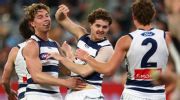
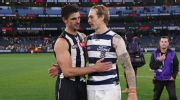
Fast-starting Geelong have withstood a Collingwood surge to claim a 25-point win and climb into the AFL top six.
Once again, after another clean, efficient and thoroughly convincing 25-point win over Collingwood, Geelong's third in a row now, we've been reminded why we should never write the Cats off.
Fast-starting Geelong have withstood a Collingwood surge to claim a 25-point win and climb into the AFL top six.
Sam Mitchell and the Hawks are on the cusp of announcing a fresh contract to remain coach until the end of 2030.
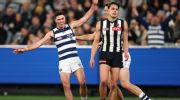
Round 21 of the 2026 AFL season kicks off with a Thursday night blockbuster between Collingwood and Geelong, before a clash between Fremantle and the Western Bulldogs on Friday.
Essendon's caretaker coach Dean Solomon will next week have his first formal discussions with club hierarchy about the fulltime job.
| POS | Team | Pts. | % | Form |
|---|---|---|---|---|
| 1 |
 FRE FRE
|
72 | 147.3 | LWWWW |
| 2 |
 SYD SYD
|
56 | 130.0 | LWLLW |
| 3 |
 HAW HAW
|
54 | 124.0 | WLWWW |
| 4 |
 BL BL
|
52 | 120.6 | WWWWW |
| 5 |
 GEEL GEEL
|
48 | 117.2 | LLWWW |
| 6 |
 ADEL ADEL
|
48 | 113.7 | LWWWL |
| 7 |
 MELB MELB
|
48 | 107.8 | LWWWL |
| 8 |
 WB WB
|
48 | 94.8 | LWWWL |
| 9 |
 COLL COLL
|
46 | 105.6 | WWWWL |
| 10 |
 STK STK
|
36 | 105.8 | LWWLW |
| 11 |
 CARL CARL
|
36 | 92.4 | WWLLW |
| 12 |
 GWS GWS
|
32 | 98.3 | LWWLL |
| 13 |
 NMFC NMFC
|
32 | 89.6 | WLLLL |
| 14 |
 SUNS SUNS
|
28 | 94.8 | LLLLL |
| 15 |
 PORT PORT
|
24 | 95.6 | WWLLL |
| 16 |
 WCE WCE
|
16 | 70.1 | LLLLL |
| 17 |
 ESS ESS
|
8 | 65.4 | LLLWL |
| 18 |
 RICH RICH
|
8 | 60.9 | LLLLL |